The Netlify service allows you not only to deploy Jamstack apps, but also do split testing, meaning that can show to users different variations of the same page. The approach they provide is quite interesting and different from common software practices. I would say it’s even more related to configuration.
Let’s say we have simple JAMstack website. To use the split-testing approach we should have the source code in Bitbucket, Github or Gitlab. Make sure your latest changes is in the master branch.
Then login to the Netlify account, go to the Team overview tab and click the New site from Git.

Then do 3 simple steps which take less than a minute and you should have connected repository to the Netlify.
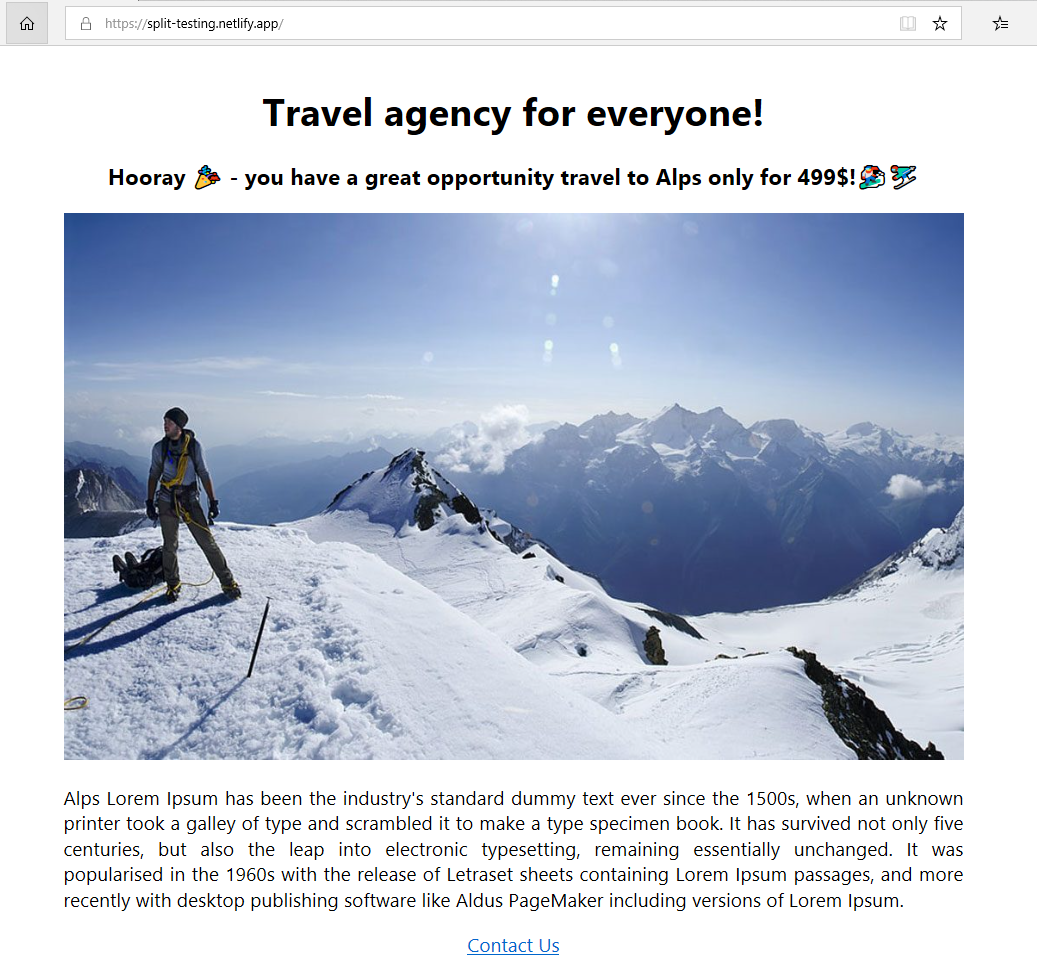
Then you can deploy the website and see the output, my example is https://split-testing.netlify.app/ and it has a look with the Alps:
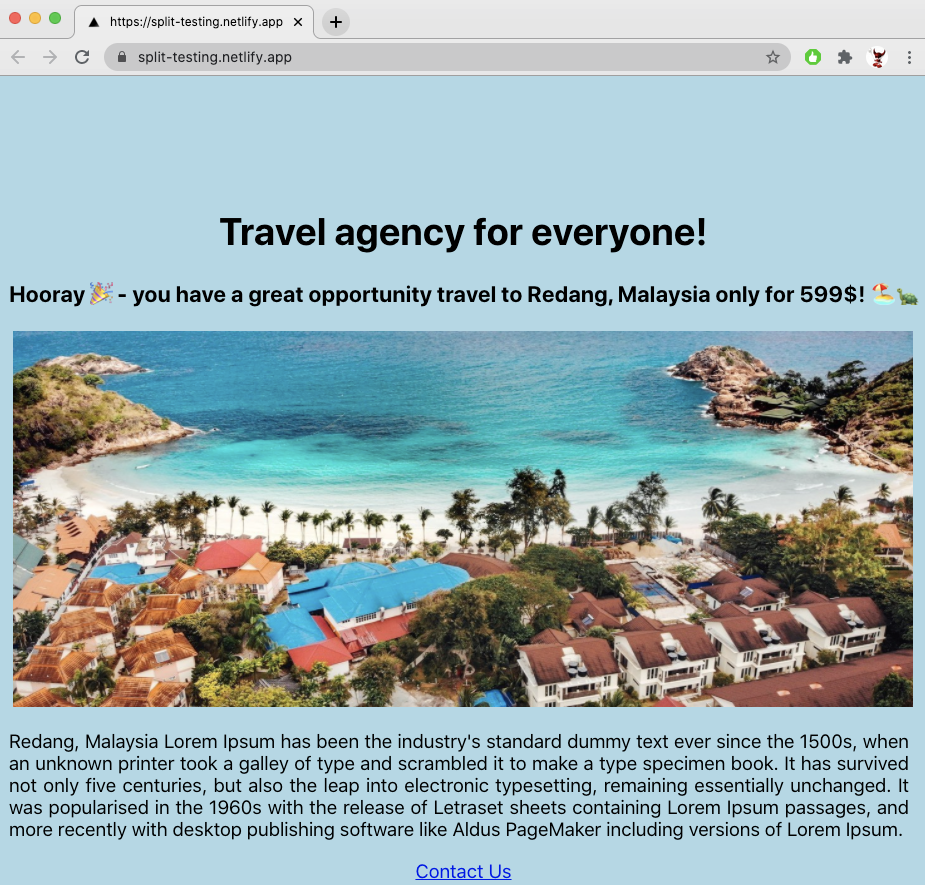
The 50% of the setting up is done! Next, we should create new variations, I’ll add 2 additional views: Maldives and Redang, Malaysia. For each of them is needed to adjust the markup in the separate branches. I tried to create branches like maldives/master and redang/master but Netlify does not see the nested branches for the split-testing. Looks like the proper way is to have the branches on the same level with the master. Hence I’ve created 2 additional branches master-maldives and master-redang.

Then go back to Netlify and click Split Testing:

You should find a configuration where can add another branches and click the Start test button.

After this step you can browse website for example, in different browsers or devices to check the output:

The implementation on the Netlify site about which variation to show is very simple, it’s randomly set up one or another branch based on a random value from 0 to 1 which you can find in cookies. I use the EditThisCookie extension and if change the value from 0.5 to 0.99 or to 0.001 we can see that variations are changing.
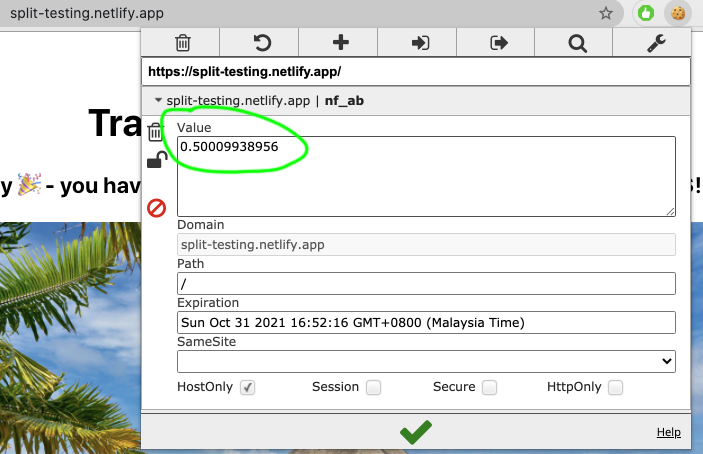
I think it has correlation by weight based on this % split:

